
Today I am going to share with you my secret to healthy, glowing, radiant skin! 100% natural with just 2 ingredients this recipe for a homemade facial gives you skin as soft as a baby's bottom and leaves you feeling ready for the day/night ahead. This facial not only nourishes the skin deep down but it also helps to remove any impurities from the surface of your face. This face mask has no perfume, chemicals or soaps and is safe for girls with sensitive skin like me!
The benefits:
The peach
- Maintains skin's elasticity
- Tightens pores and brightens the skin
- Long lasting hydration
- Blurs redness
- Regenerates skin cell renewal
The whipping cream
- Crammed full of AHA acids which work to make the skin extra soft and plump!
- Whipping cream gently exfoliates the skin - giving it that gorgeous healthy glow after using the mask
- It fades any dark spots
- Evens out skin tone and fights against redness
- It is anti-inflammatory
- Brightens the complexion
- Works against signs of ageing
Ingredients:
2 peaches (I bought mine in a pack of 4 from a local supermarket for £1)
Whipping cream
This face mask is totally inexpensive as it costs approximately £3 for all the ingredients and this recipe makes enough product for 3 face masks.


Equipment:
- 1 sharp knife (younger readers will need to get an adult to help with this)
- 1 chopping board
- A blender or a fork
- A fork
- A bowl
Method:
1. Take your 2 peaches and peel away the skin


--------------------------------------------------------------------------------------------------------------------------
2 peaches (I bought mine in a pack of 4 from a local supermarket for £1)
Whipping cream
This face mask is totally inexpensive as it costs approximately £3 for all the ingredients and this recipe makes enough product for 3 face masks.
Equipment:
- 1 sharp knife (younger readers will need to get an adult to help with this)
- 1 chopping board
- A blender or a fork
- A fork
- A bowl
Method:
1. Take your 2 peaches and peel away the skin
2. Using the sharp knife, cut up the peeled peaches into small slices ready to be mashed up!
 |
| mmm... the struggle to resist eating any of the peach slices on the way to making the mask! |
3. Put the chopped peach into your blender and blend blend blend....
^^^ Until it looks something likes this! ^^^
4. Take your whipping cream and continue to pour it in the mashed up peach until you get a nice, light, creamy consistency (like how it appears below)- use the fork or a whisk to stir the 2 ingredients together
(If you like you could also add honey - another miracle working ingredient!)
Applying the mask:
I recommend that you use a flannel and soak it in hot water, then place the flannel on your face before waiting about 1 minute for all your pores to be open. This will prep your skin for the scrummy face mask!
I also suggest that you wear an old t-shirt because the application process can be a bit messy but it just adds to the fun!
Dry your face and then apply a nice thick layer of the mask- now kick back and feel it working its wonders!
--------------------------------------------------------------------------------------------------------------------------
After 20-30 minutes (or when you feel the mask to be dry on your face) rinse away the mask with lukewarm water, you could also use the flannel to help remove it:)
Why not drink some water while you wait as this will also give you an endless list worth of benefits to your skin.
When all the mask is removed you can follow up with your normal moisturizing routine before carrying on with any other fun activities you may have left for the day- however you can do so with skin which appears to glow from within!
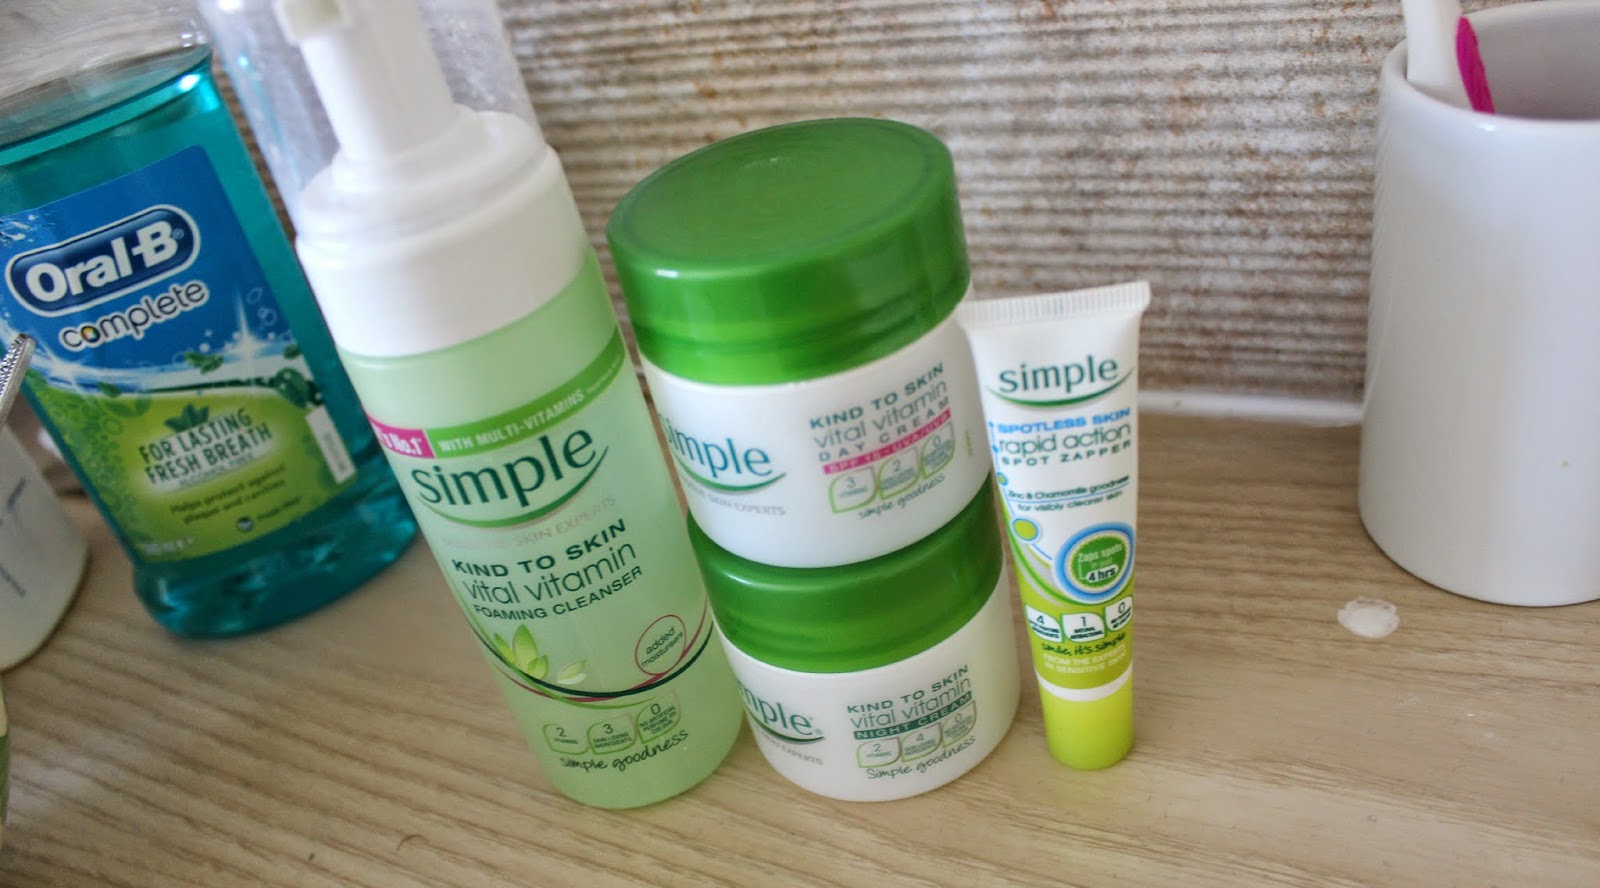
I highly recommend this range of simple skincare because of how great it is with all types of sensitive skin! This is the one range of products that my peers actually comment on by saying that they have noticed a difference in the clarity of my spots!
I hope this helped and please let me know if any of you try this out!
For now
Charlotte:)
xxx
No comments:
Post a Comment
Thank you for commenting on my blog! I read every comment you lovely people write and reply to as many as possible!